Lesson 1: Day 4
Project/Unit Description/Expedition:
Attention Researchers: Your Creative Thinking Labs are up and running successfully! Well done. Your first mission is to research, design and create a brand new planet for Earth’s inhabitants to live on after the meteor hits! All researchers will need to come together to decide what 5 characteristics the new planet will need for the inhabitants to survive… Then each researcher will design and create their new world by planning/sketching, drawing and finally painting their brand new Ideal World and Habitat they would want to live in!
Today, students will be brainstorming in their sketchbooks in response to the prompt above.
Essential Understanding (s):
- Planning and refinement is an essential component in creating art in all its forms.
Inquiry/Learning Target:
Students will finish drawing on their canvases and begin to create an acrylic painting of their new world, and will understand the process for beginning an acrylic painting. This painting will include foreground, middle ground, and background, a clear light direction, and color mixing.
Key Concepts:
- Improvisation
- Law / Rules
- Color mixing
Skills:
- Generating or assessing solutions
- Comparing analogous situations: transferring insights to new contexts
Art Focus:
Students will sketch and brainstorm in their sketchbooks to create a new habitable planet. They will be practicing drawing skills and developing creative ideation skills.
Literacy Focus:
Students will be learning vocabulary terms including overlapping, foreground, middle ground and background. They will also be encouraged to brainstorm with a list of ideas and discuss these ideas with the teachers and peers, and at the end of each day we will have a written reflection to post on the discovery board.
Documentation
This is a video that I showed to the class at the beginning of the period. Throughout it, I paused it to ask questions and clarify questions that the students had. This seemed to work very well as an introduction to starting their own acrylic paintings immediately afterwards. The students understood that it is most effective to start with loose, neutral background painting and then add layers of increasing detail afterwards.
I spent a lot of time working with these two students. I asked them how they could show more distance, and they showed me that they were making objects smaller as they went farther back. As I asked them more questions, they began to realize that their pieces weren't showing distance well because they weren't using foreground, middle ground and background. They were both unclear about how to do this; one said "I don't want to move things around because I already drew all this out on my canvas."
I presented alternate solutions by creating two quick drawings, shown in the third photo in this slideshow. One (the bottom one) was to lower the horizon line, making it seem like the viewer was more on ground level instead of up above the world. Both of the students agreed that this sketch looked like it had distance, reasoning that "it looks real because closer things are in front of the farther things."
The other sketch represented a compromise that we worked out together; they could keep what they had drawn already, and still create a foreground, middle ground and background by adding multiple levels of horizon. When asked how they could show what is in between the closer objects and the mountains, one student exclaimed, "They could have hills!" In response, we created hills showing that the different objects were receding in space.
Picture 1 shows a student's original drawing, lacking foreground, middle ground and background. Picture 2 shows the second student's original sketch with the beginnings of hills drawn in. Picture 3 is the two quick drawings I did to demonstrate depth. Pictures 4 and 5 show how far the students came in adding foreground, middle ground and background in their final paintings by the end of class.
|
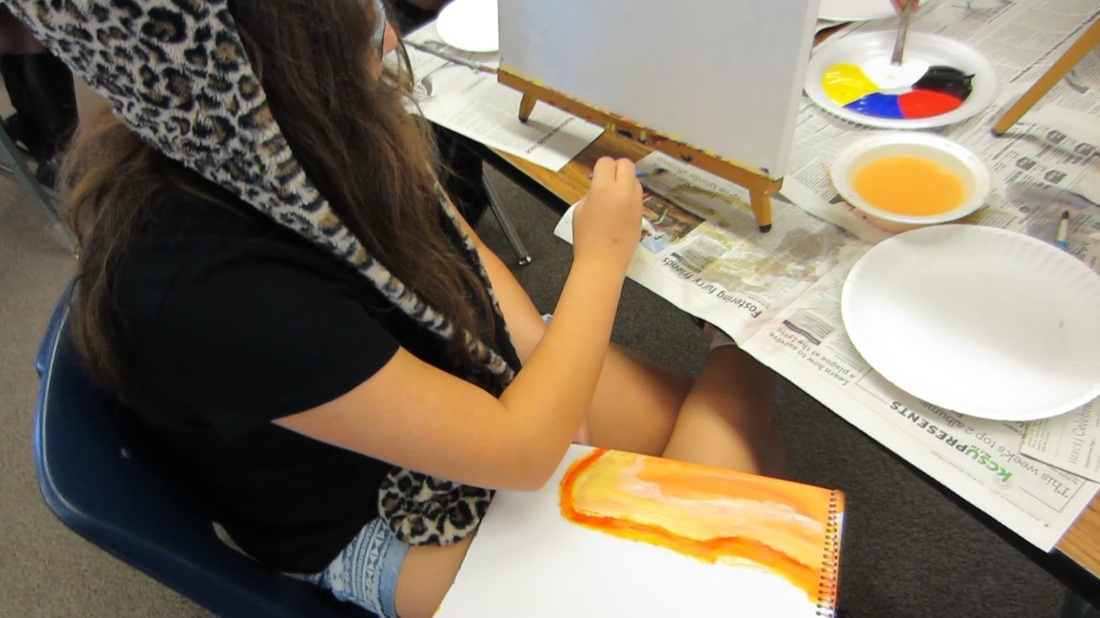
Here, a student explores mixing colors in a new way. She explained that she mixed yellow, red, and white to create several varieties of orange. Her goal was to depict a beam of light. She showed ideation skills by instinctively trying this out in her sketchbook before painting it on her final canvas.
|
|
|
|
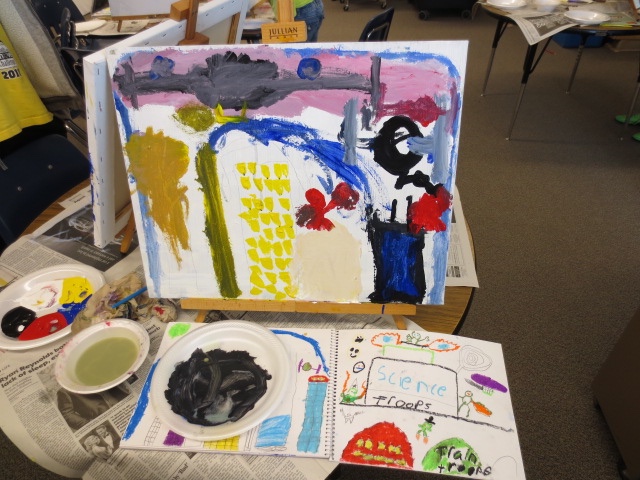
In these pictures, you can see the progression of this painting throughout the class period. The student had a fairly good grasp of the concepts taught at the beginning of class through the discussion of the time lapse painting video. He started with loose, general painting, adding details as he went. He also explained that he was planning on adding a light source after painting all the objects, "just like in the video."
|
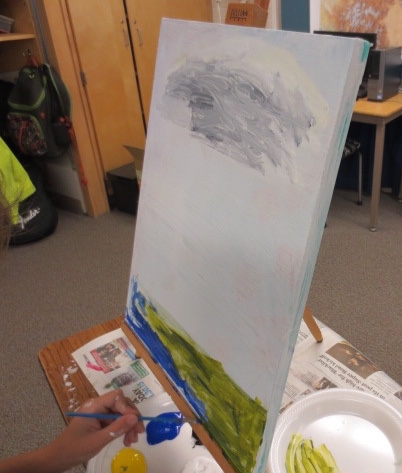
This student kept referring back to the video when explaining his artistic decisions. He was very interested in creating a landscape like the one in the video, but I reminded him that we were all painting the habitable worlds we have been working on in our sketchbooks. I let him begin with a landscape, which he agreed to add his world on top of with new layers of paint in the future. Despite his lack of clarity about the actual assignment, he showed a solid understanding of how to start and develop an acrylic painting. drew it out lightly first in pencil, then covered the entire canvas with a fairly neutral base layer, like we discussed at the beginning of class. He also independently experimented with different brush techniques, explaining and demonstrating that he "could use a dry brush to create the cloud texture without adding any extra paint to it." This was accomplished by swirling around the paint that was already on the canvas in many different directions. |
|
|
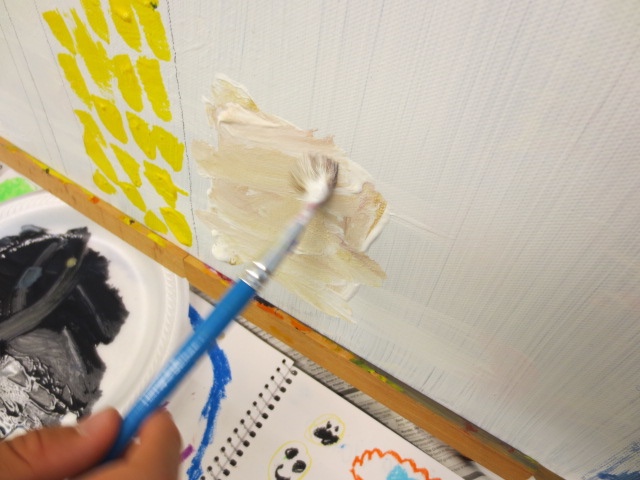
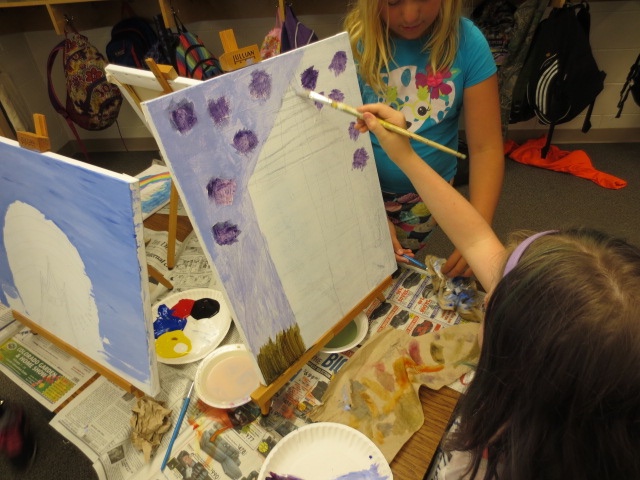
Here, a student paints her first layer with a carefully mixed blue-purple. She used "blue, white, and a tiny bit of red." She showed attention to detail and awareness of what colors to mix together, as well as understanding that it is helpful to start with the background first and then paint closer objects over the top in a later layer. |
|
